My daughter is not one yet so I have been trying to save money on all sorts of things that she requires. I want to focus on one item that I see quite frequently on Pinterest. Homemade Baby Wipes.
I found the pin on Pinterest back in March and have been working on perfecting this particular baby wipe. It is from Homemade Mamas. You should check out their site. It is full of awesome ideas.
So, according to Homemade Mamas all you need is:
- A round plastic container with tight-fitting lid
- Thick strong roll of paper towels (Viva is the best)
- Sharp, Serrated knife to cut paper towel roll in half
- 2 cups water, boiled and cooled to room temp
- 2 Tbs. baby shampoo or wash
- 1 Tbs. baby oil
Well that sounds easy enough. So I tried it.
I did not know that I was going to be doing this blog so I didn't take pictures when I made them for the first time. I just made mental notes of what I liked and didn't like.
Things I liked:
- Paper towel rolls have lots of squares. That times 2? Awesome!
- Baby wash or shampoo sounds good to me since you have to put it on your baby anyway.
- My friend Lisa and Christie gave me a bottle of Burt's Bees honey baby oil for my shower so my babies bum smelled so sweet after using my homemade wipes.
Things I had to change:
- The paper towel roll! When you cut it, it makes a huge mess. Also, all the towels are connected so it can be a huge pain to get them to come apart but you will find this for ALL baby wipes. I mean all of them (I have found anyway).
- Less water cause when the towels sit in the water for too long they disintegrate and then you have a mess and it gets pretty gross.
- Again the paper towel role. It was not easy to just pull out a piece. They started ripping constantly when they sat in too much water and the roll started sagging.
After several sessions tinkering with my baby wipes, I feel that I have finally come up with something that is still not perfect but better. I will always keep trying to make them inexpensive and easy to use.

Here is a list of items that I use:
- Baby shampoo ($2)
- Baby oil (regular baby oil is about 70 cents for a bottle about the same size as shown)
- Kleenex 2 ply dinner napkins ($1 for one package of 50)
- Scissors
- 1 Tbs and 1/2 Tbs
- Container (shown is Ziplock)
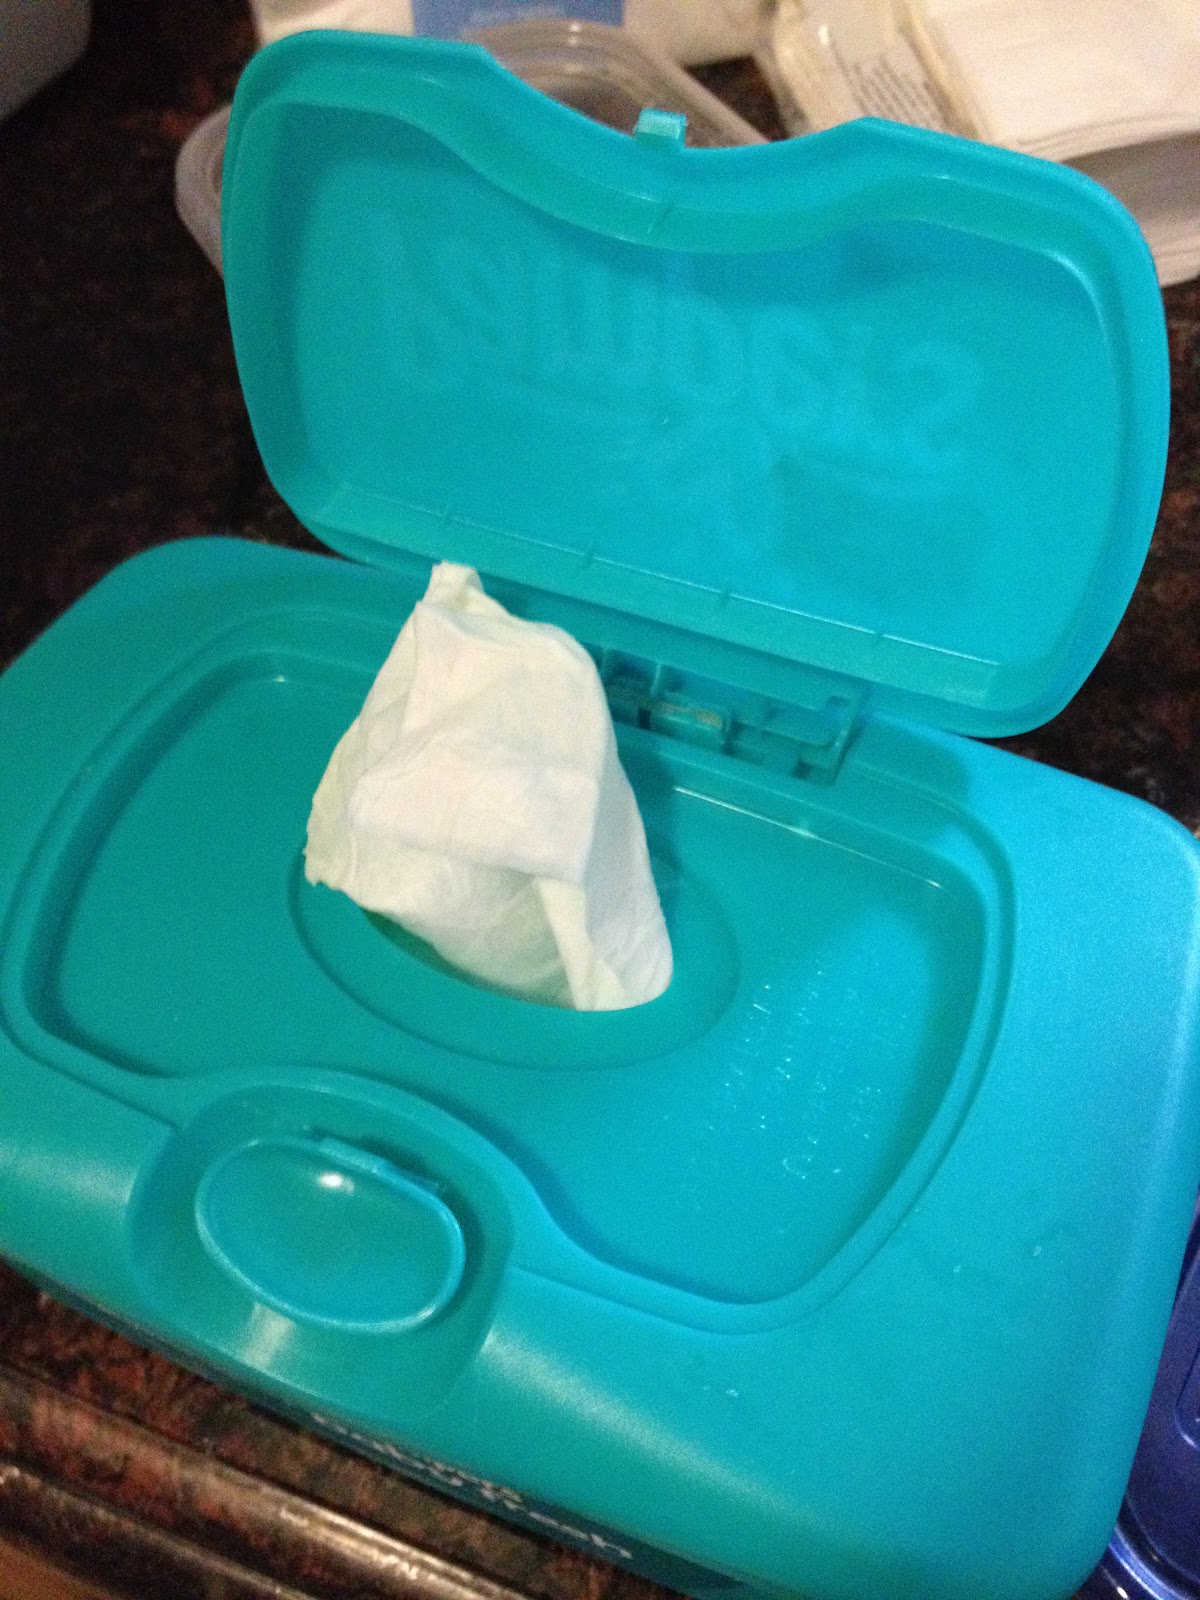
- Baby wipe container (not needed but not bad to have)
- 1 and 1/3 cup water boiled and cooled (I don't know why but I think it has something to do with purifying)
This is what I do:
- 1 Tbs of baby wash and 1/2 Tbs of baby oil into container with 1 and 1/3 cup water- MIX
- take about half the package of Kleenex table napkins and cut in half
- fold napkins into each other (pictures below)
- lightly dunk each side into mixture. There should be JUST enough mix to get everything wet enough to use but no extra water for it to sit in
- Put into container


$3.70 for 50 wipes does not sound very good BUT you have enough baby wash and baby oil to get you through at least another 5 rounds. So let me break it down mathematically:
- $1 per Kleenex. That means you need to buy 3 packages for 6 rounds = $3
- .70 cents for small baby oil = .70 cents
- $2 bottle of baby wash = $2
- hopefully you already have a container
Total is $5.70 for 300 wipes AND you still have enough baby wash/shampoo to get you through even more wipes without having to buy a new bottle.
THINGS I WANT TO POINT OUT:
- if you are a military ID card holder with privileges to the BX, NEX and so on... then you can go to the Navy Exchange website and get a box of 432 wipes for $4.50.
- If you do NOT hold a military ID card and have to buy at the store then a store brand may be just as inexpensive.
- I have had no problems with diaper rash since using these homemade wipes.
- Having the baby wipe container helps pull the pieces apart better than the ziplock container.
- Add a little food coloring to the mix and you can have your wipes match the room!
After several tries I feel that I have NAILED it!